


Page 3
In chronological order:
(Click on any thumbnail for the full-size picture)
 |
 |
 |
 |
|
01-21-2001 - New
Countertops |
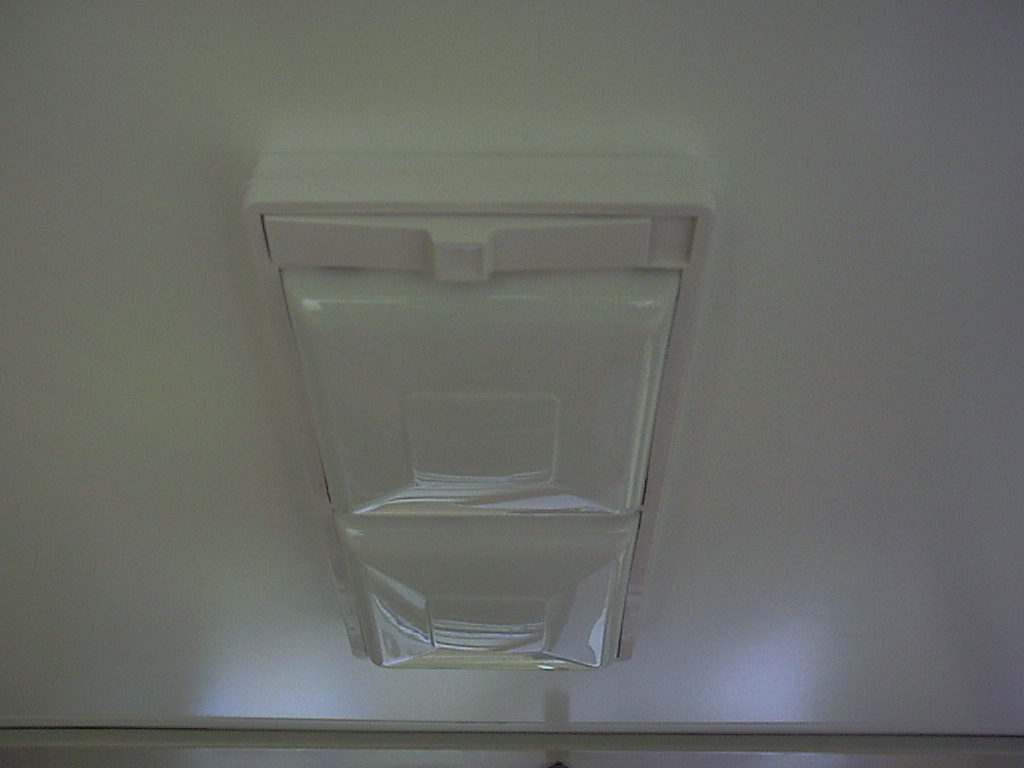
01-21-2001 - New
Light Fixtures Here are the new light fixtures. Fairly easy to attach (backed by plywood). |
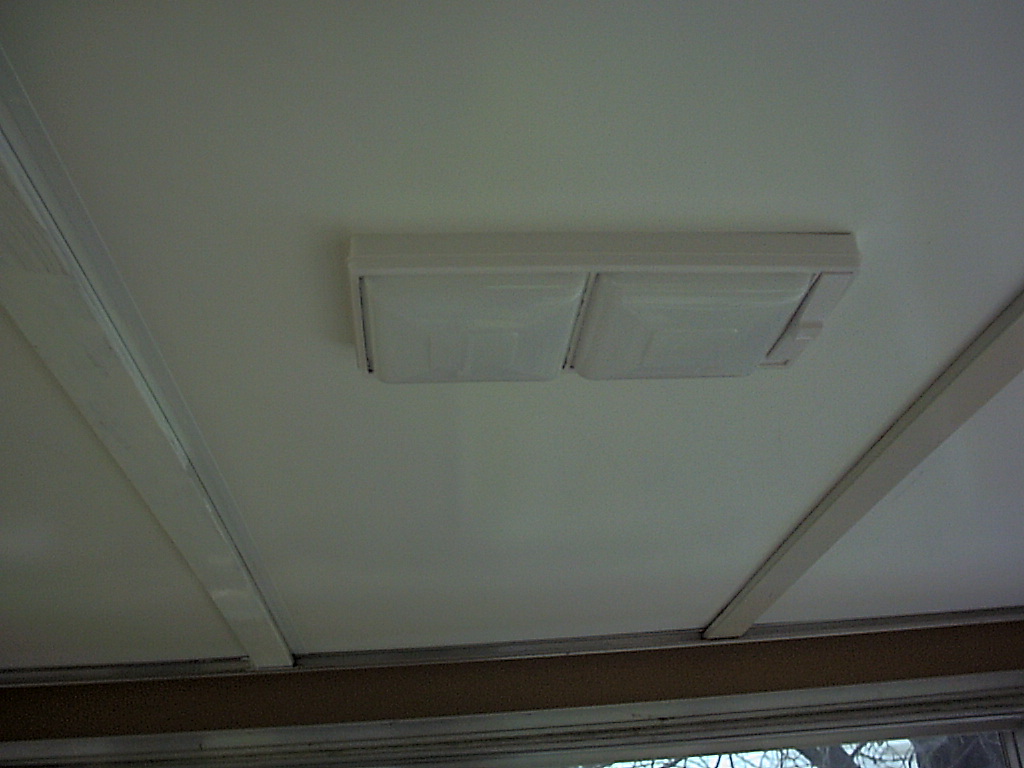
01-21-2001 - New
Light Fixtures Another view. Two separate bulbs, so you can control the level of light. Nice and bright when you need them to be. |
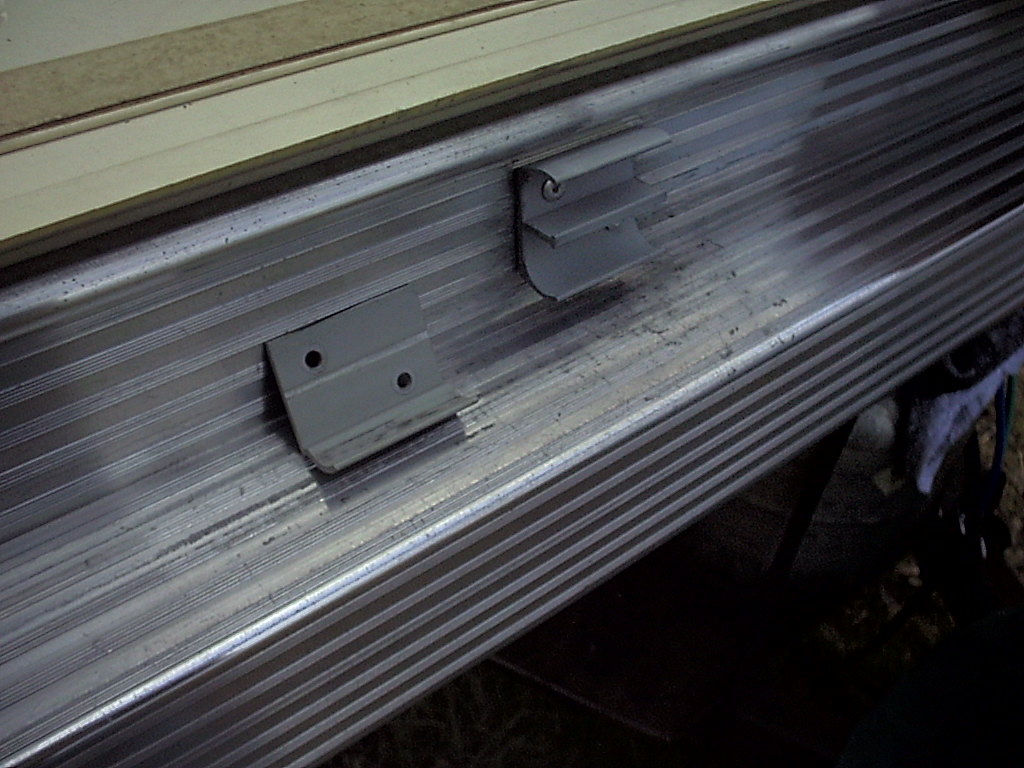
01-21-2001 - New
Bed Rod Holders By the time I was finished with my Apache, I was an expert in pop-rivets. Drilled out the old ones, installed these (ordered from Ole' Elmer). |
|
|
 |
 |
 |
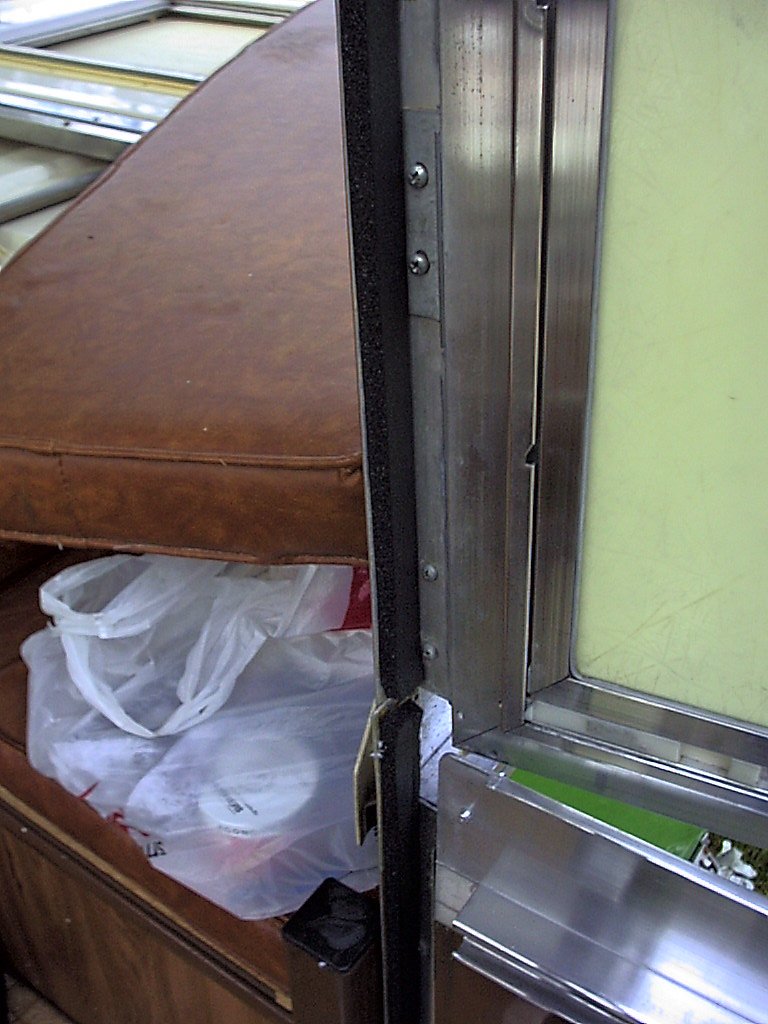
| 01-21-2001 - New
Door Seals Bought this standard seal at a local hardware shop. Will hopefully insulate the door area much better. The old stuff was falling apart. |
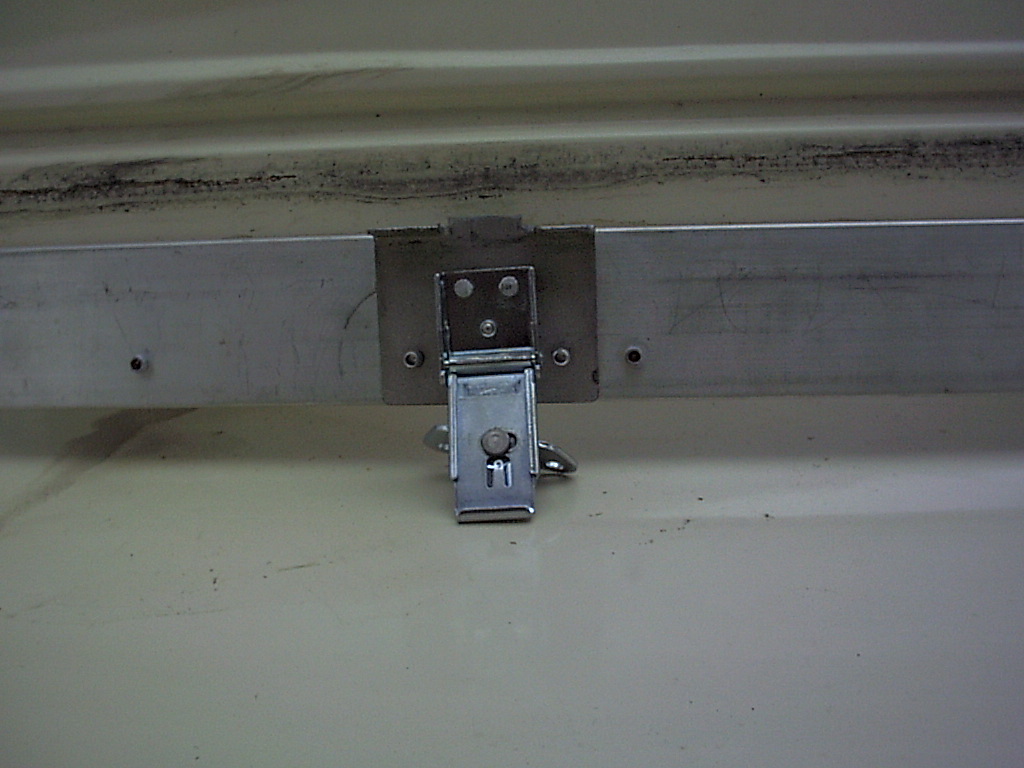
01-21-2001 - New
Dial-A-Latch One of our Dial-A-Latches had broken, so while on the phone with Ole' Elmer, I had him send me a couple of these too. Again, pop rivets. |
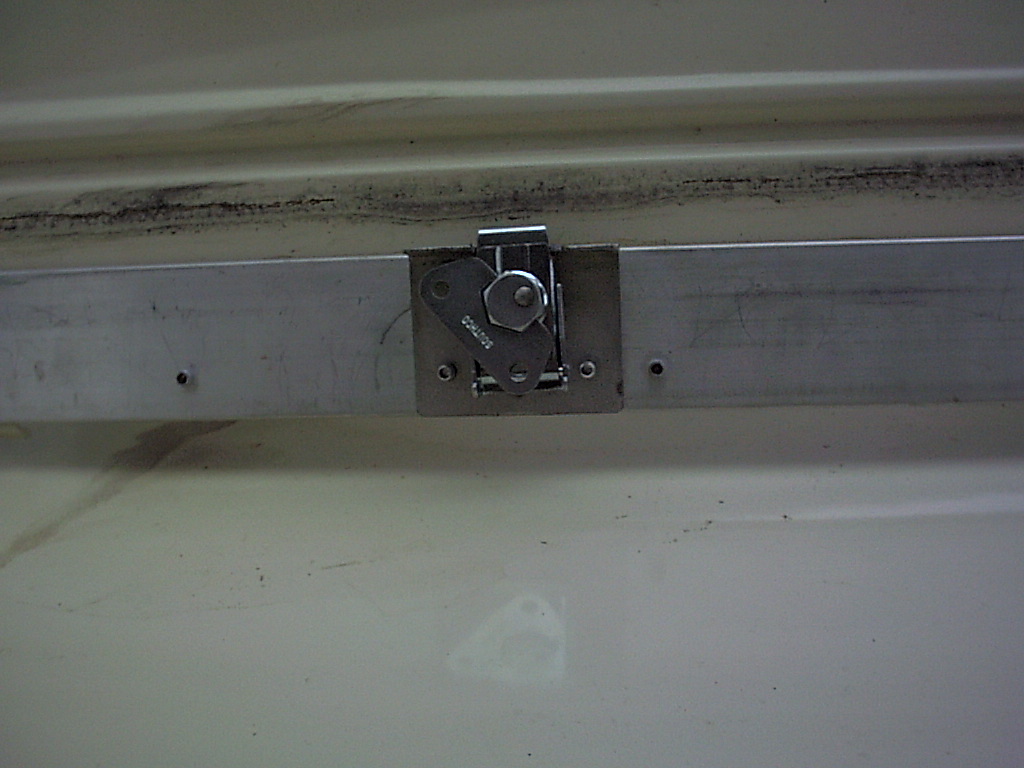
01-21-2001 - New
Dial-A-Latch I had to shave down the pop rivets to allow the mechanism to move freely. |
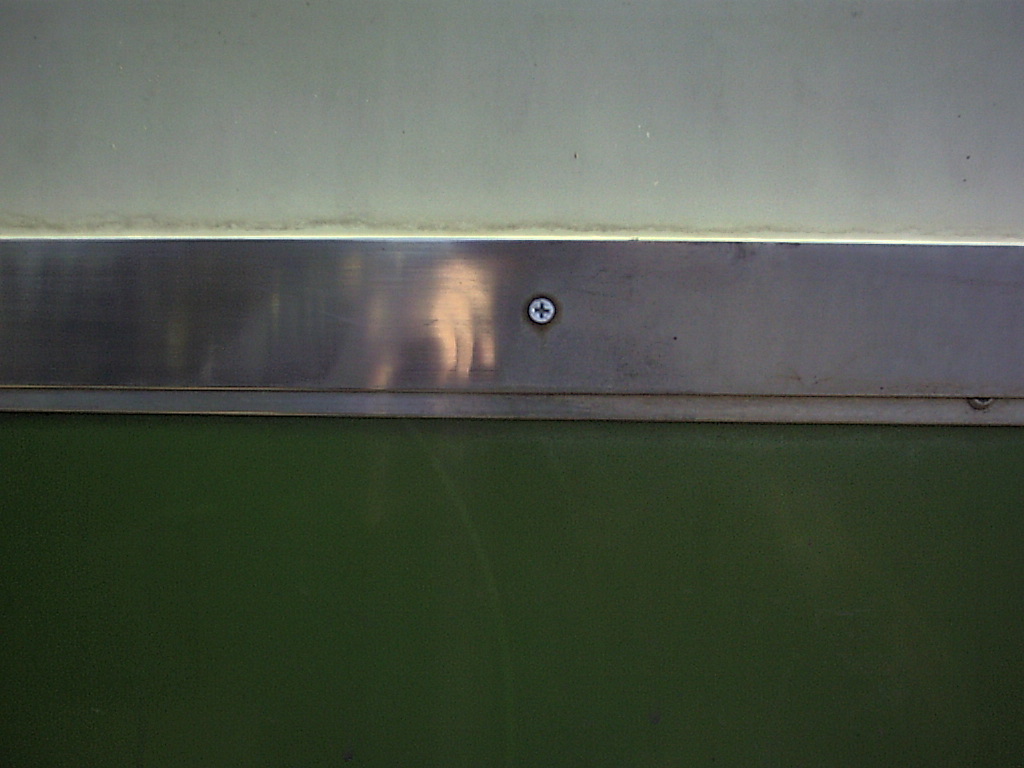
01-21-2001 - Polishing
Aluminum Our aluminum was very dull with oxidation. We bought the 3M "Marine Restorer" compound (found at Wal-Mart). |
 |
 |
 |
 |
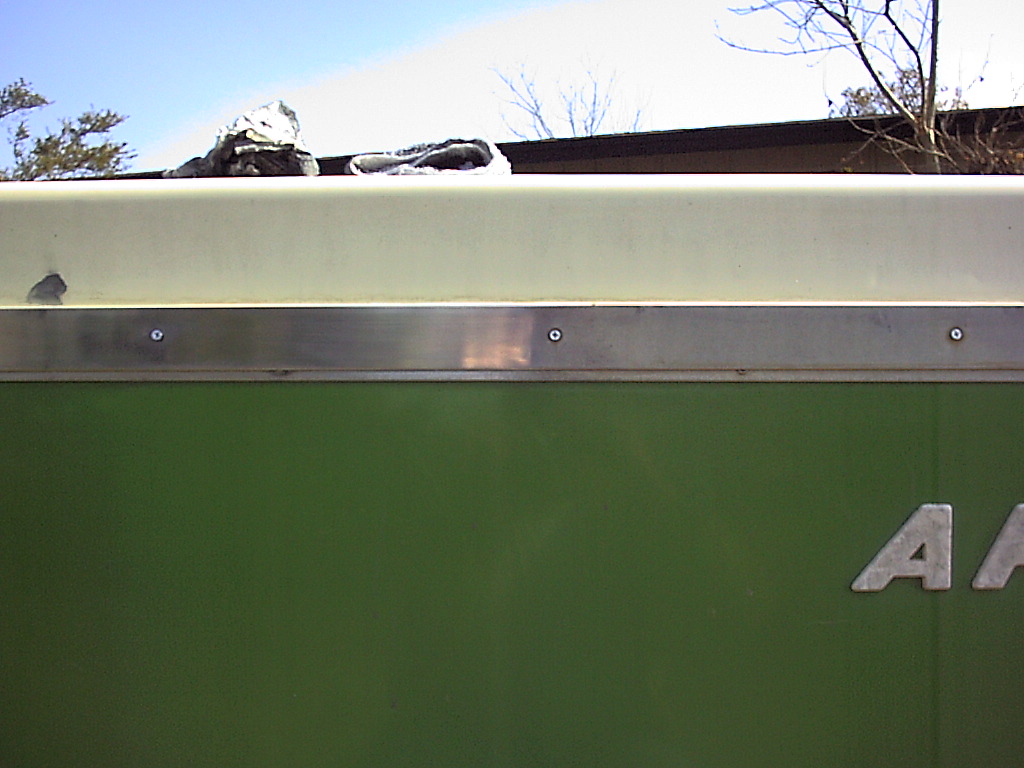
| 01-21-2001 - Polishing
Aluminum The 3M stuff is great. However it still takes a lot of work, and there's a lot of aluminum on the Apache! |
01-21-2001 - Polishing
Aluminum I think this is an excellent example of the dramatic difference between the old oxidized stuff and the gleaming polished stuff! Don't forget to wax it after you're done to keep the oxygen out. |
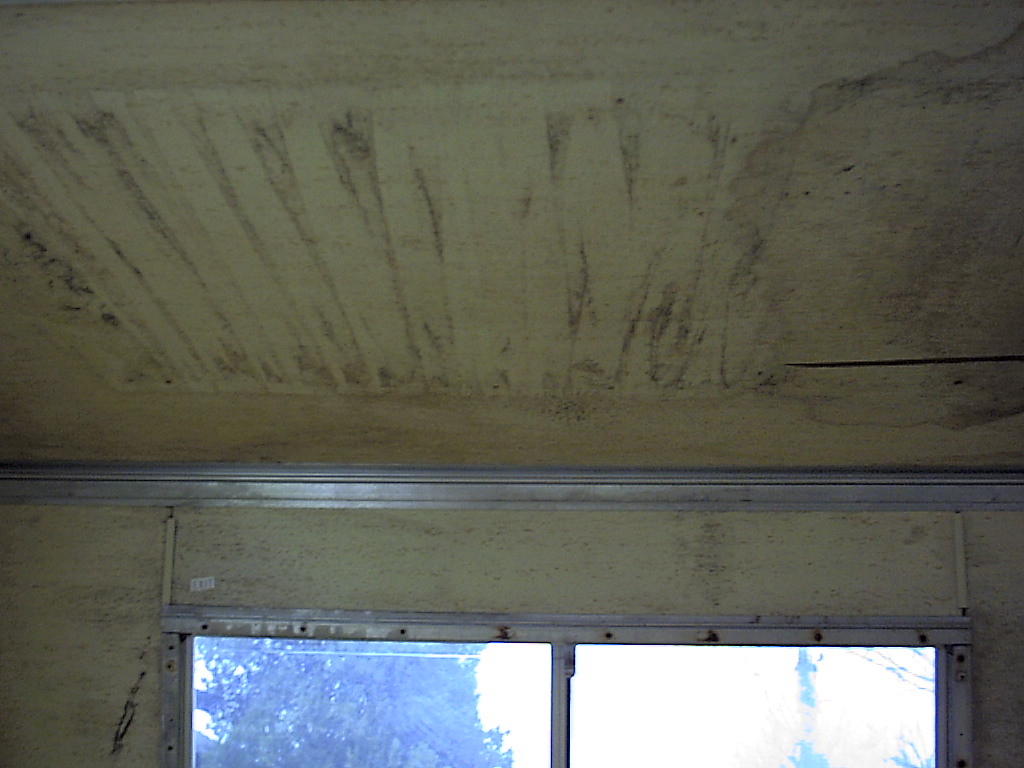
01-21-2001 - Bad
Bed Ends! The state my bed ends will give you some idea of how bad the rest of the trailer was. We're talking mildew set up camp in my camper! |
01-21-2001 - Bad
Bed Ends! More Mildew. |
 |
 |
 |
 |
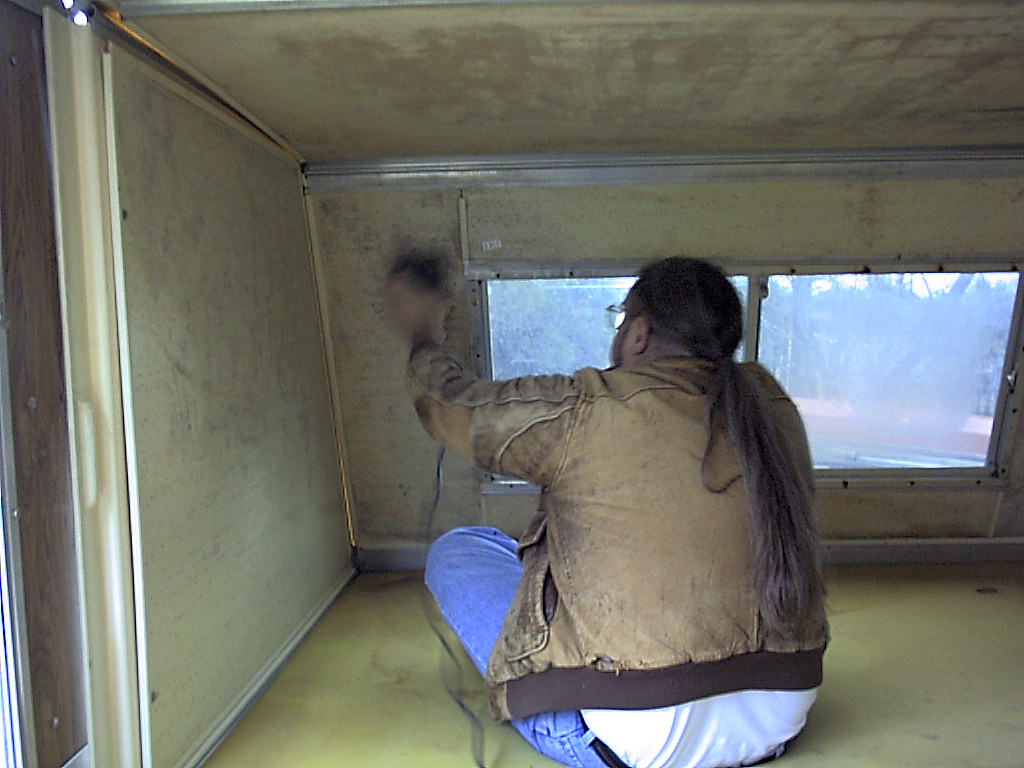
| 01-21-2001 - Bad
Bed Ends! Rather than replace the wood, I decided to sand & paint it. I'm using just a standard electrical sander here. |
01-26-2001 - Bad
Bed Ends! Two coats of latex paint. |
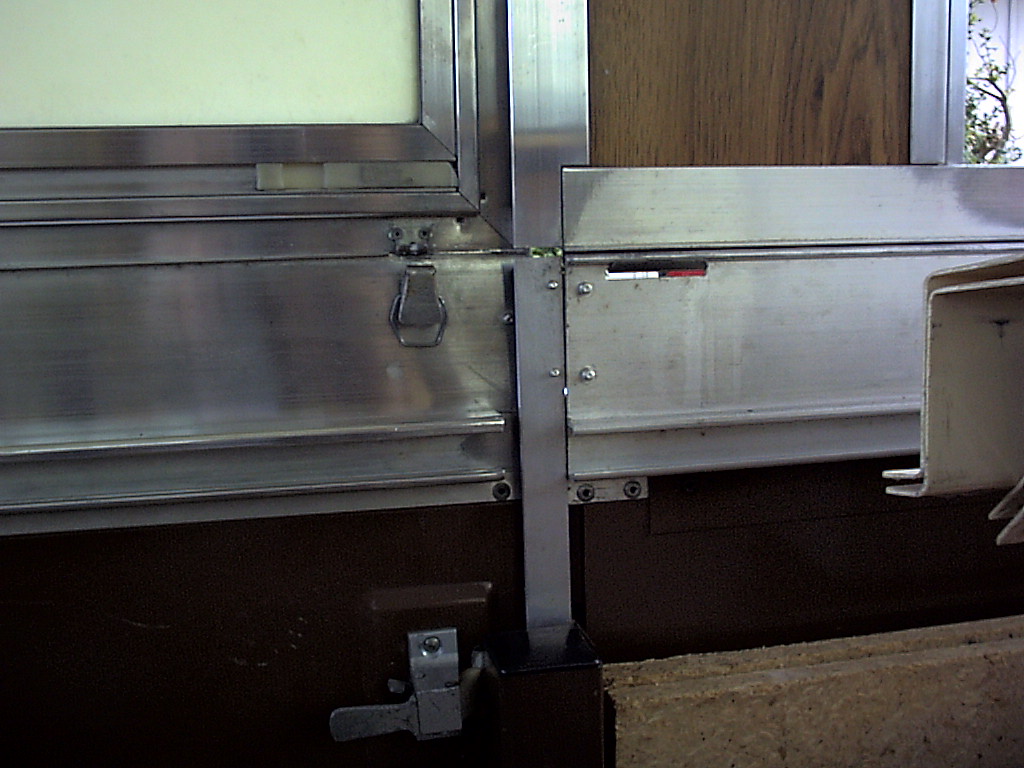
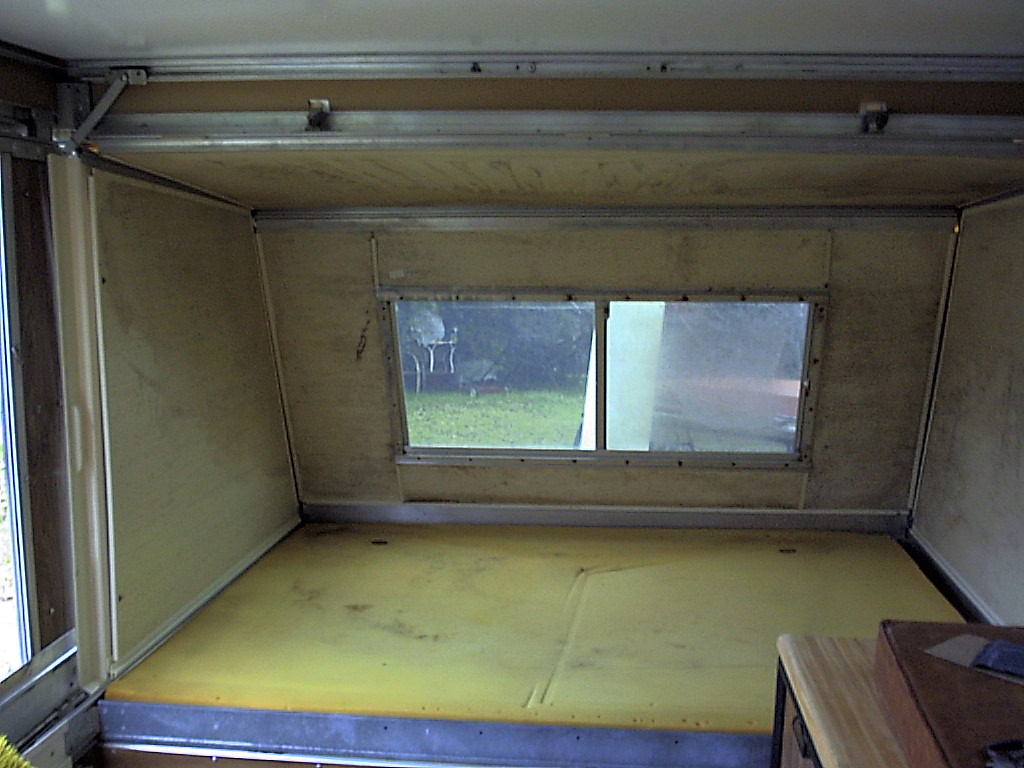
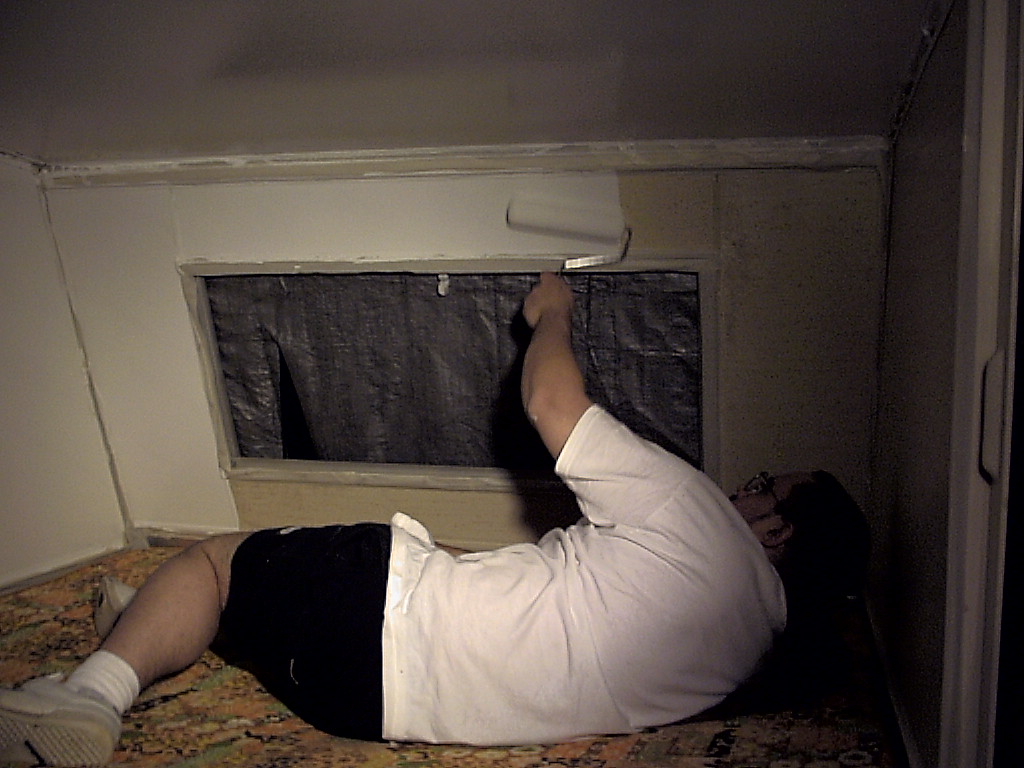
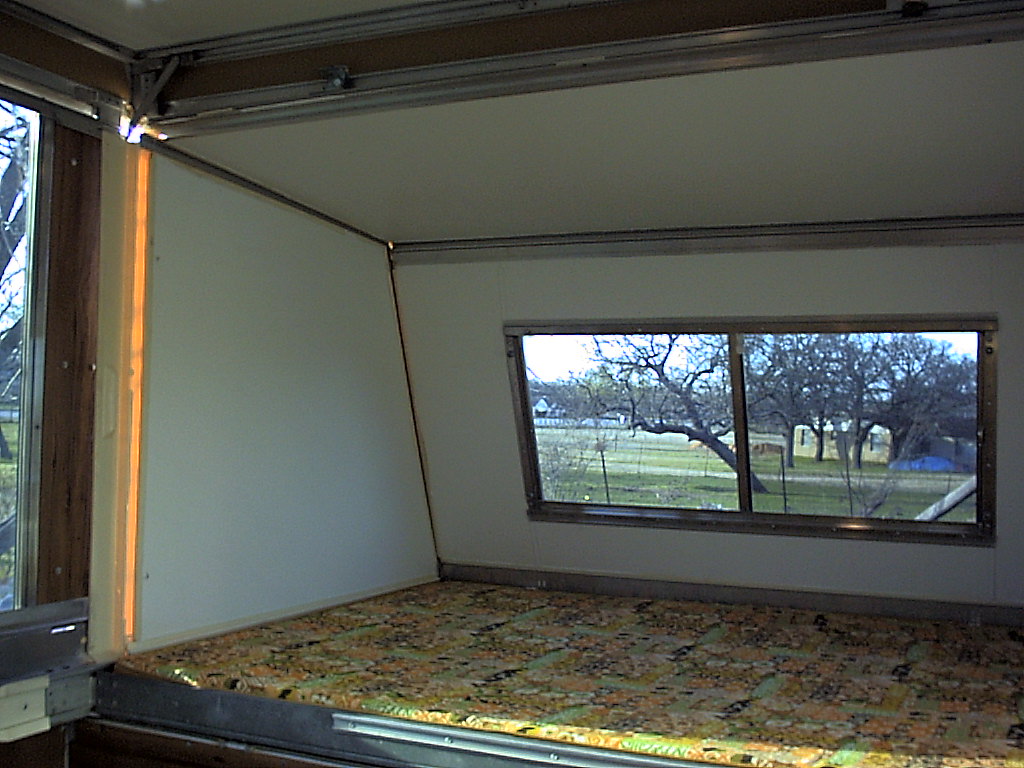
02-03-2001 - Good
Bed Ends! Here is the finished product. Also, you can see the new windows installed. |
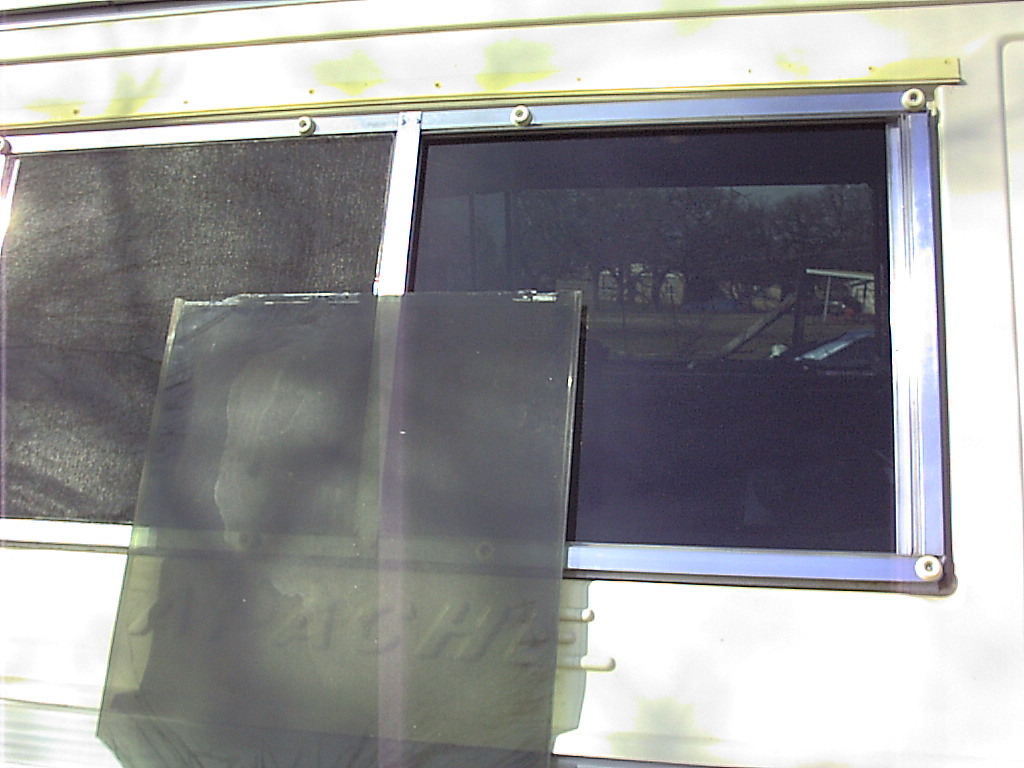
02-03-2001 - Window
Replacement I forgot to take 'before' pictures of the old yucky windows. Here's one of the old windows for comparison. |
Jump to: | Page 1 | Page 2 | Page 3 | Page 4 | Page 5 | Page 6 |