


Here you will find my photos of the restoration of my 1977 Apache Ramada. The main project took place between November 2000 and February 2001. Of course, I continue to do small projects on the old girl as needed, and will continue to update the site with any new work I do.
PLEASE READ: I want to specifically address the method I used for repairing my road cover. Ordinarily, I would not recommend using fiberglass/epoxy and Bondo-glass for patches, as they deteriorate in the sun over time (you can see some photos of old fiberglass patches, and how they have yellowed and disintegrated). However, I felt I had no other option as the road cover had gaping holes that I could not repair using the ABS goo repair method. If your cracks/holes are anything other than huge, please use the ABS goo method found on Doug's Apache Popups Website.
In chronological order:
(Click on any thumbnail for the full-size picture)
 |
 |
 |
 |
|
11-30-2000 - Old
Ceiling Material |
11-30-2000 - Old Ceiling Material Another shot of the damage. |
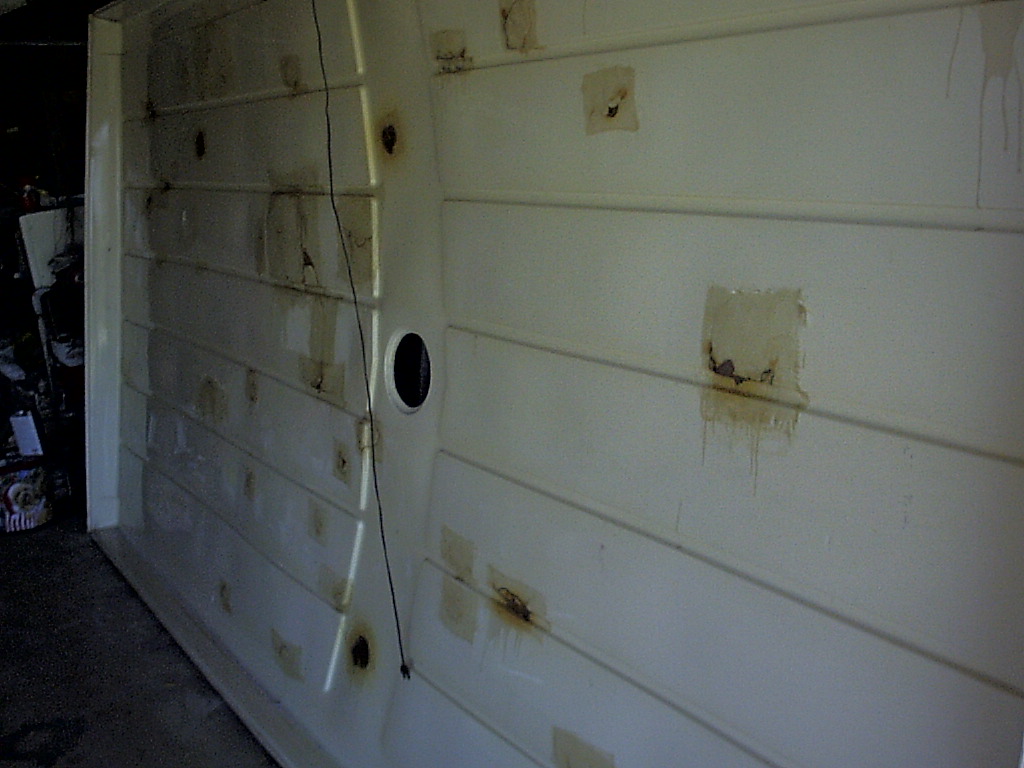
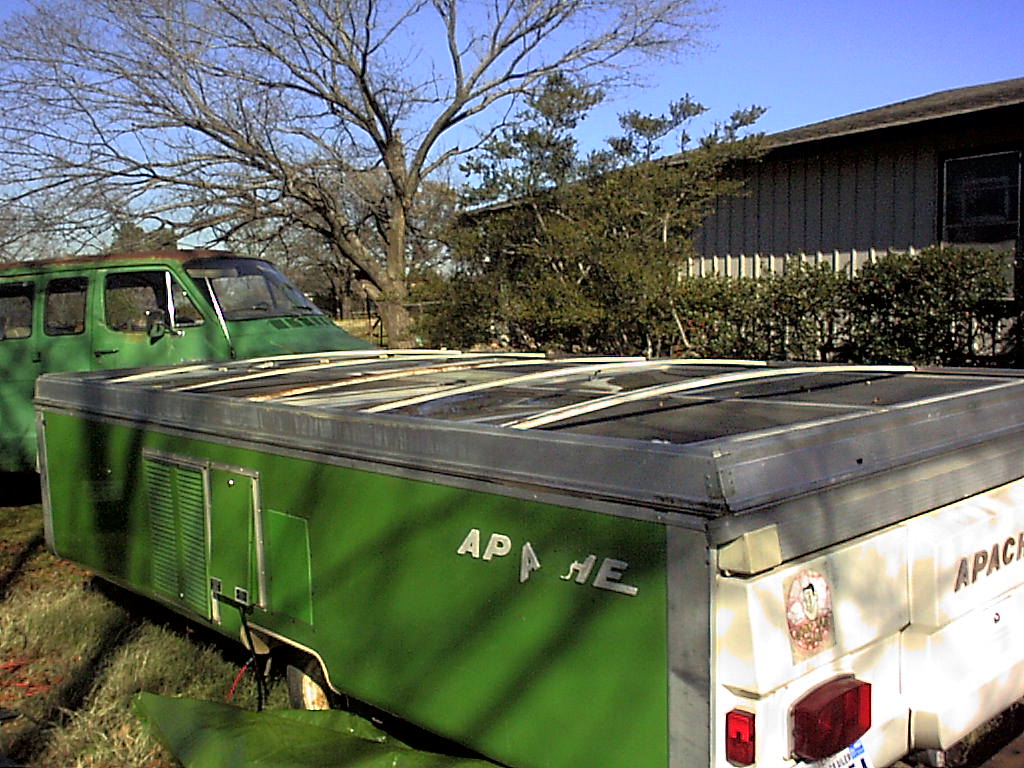
11-30-2000 - Bottom
of Road Cover Here is the removed Road Cover, on its side in the Garage. This is most definitely a two-man job, getting it off the trailer. |
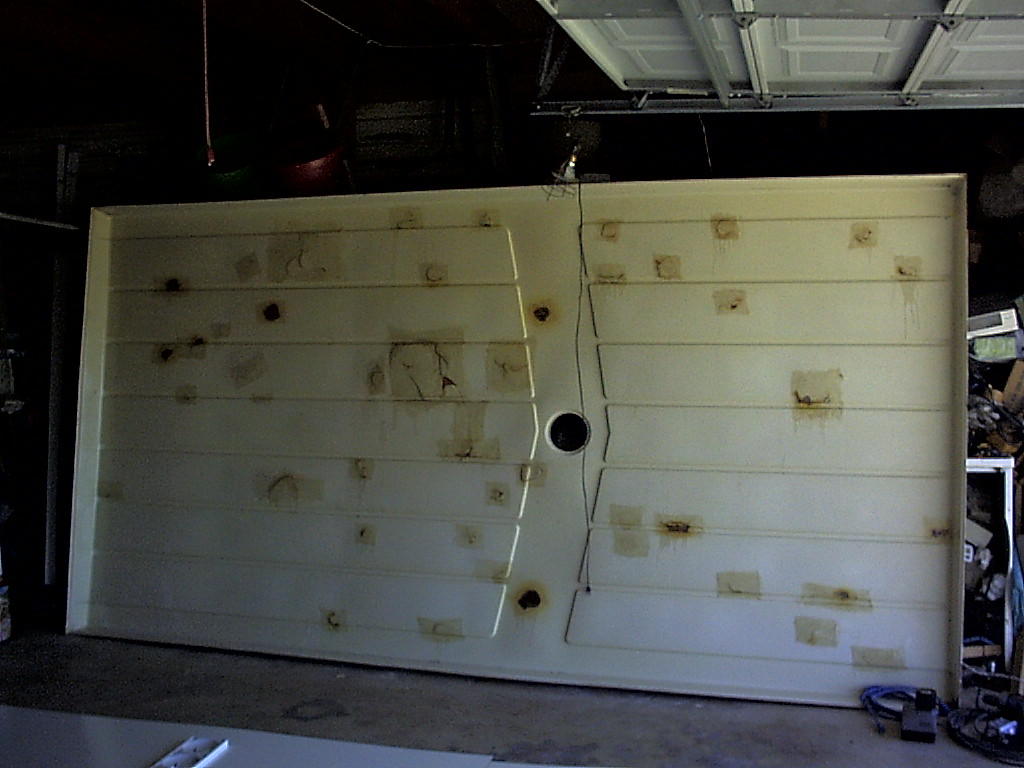
11-30-2000 - Bottom
of Road Cover In the past, we had patched holes from a hailstorm with fiberglass and epoxy. You can see that they disintegrated in the sunlight in less than five years. |
 |
 |
 |
 |
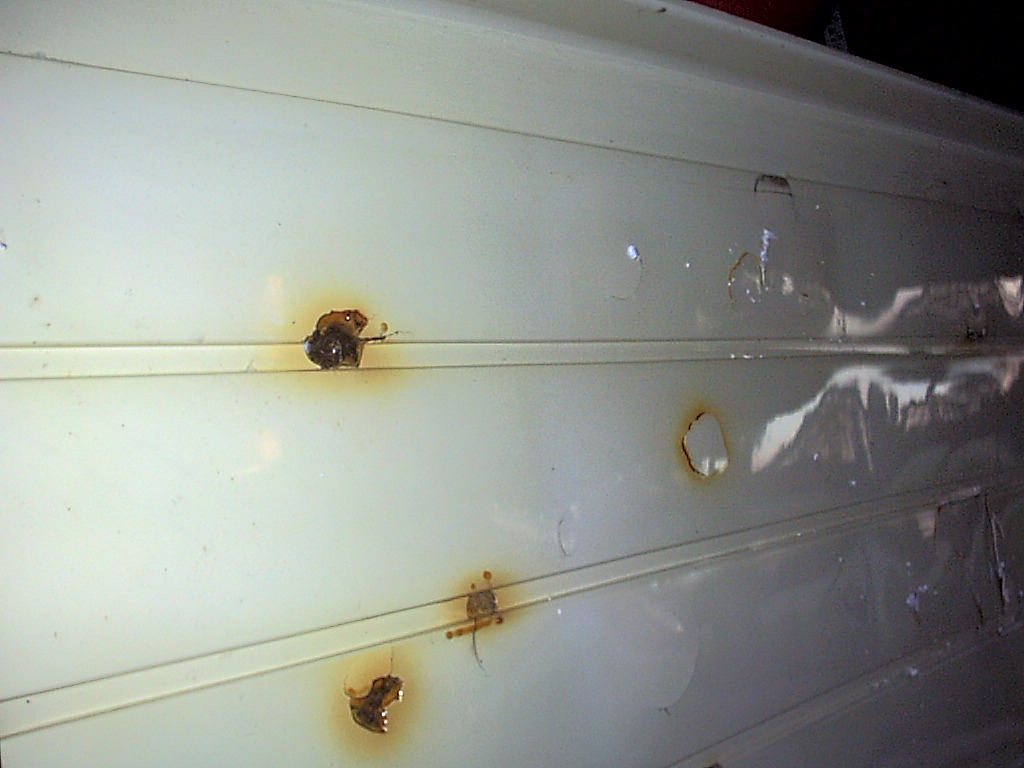
| 11-30-2000 - Bottom
of Road Cover Another shot of the holes we had to fix. |
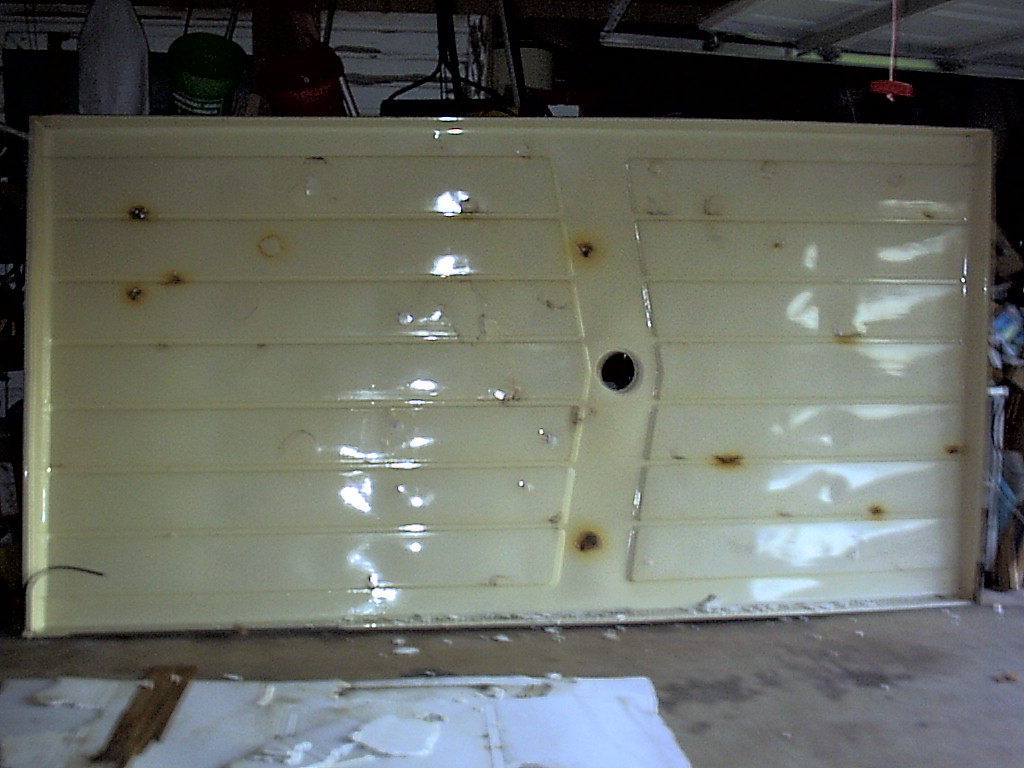
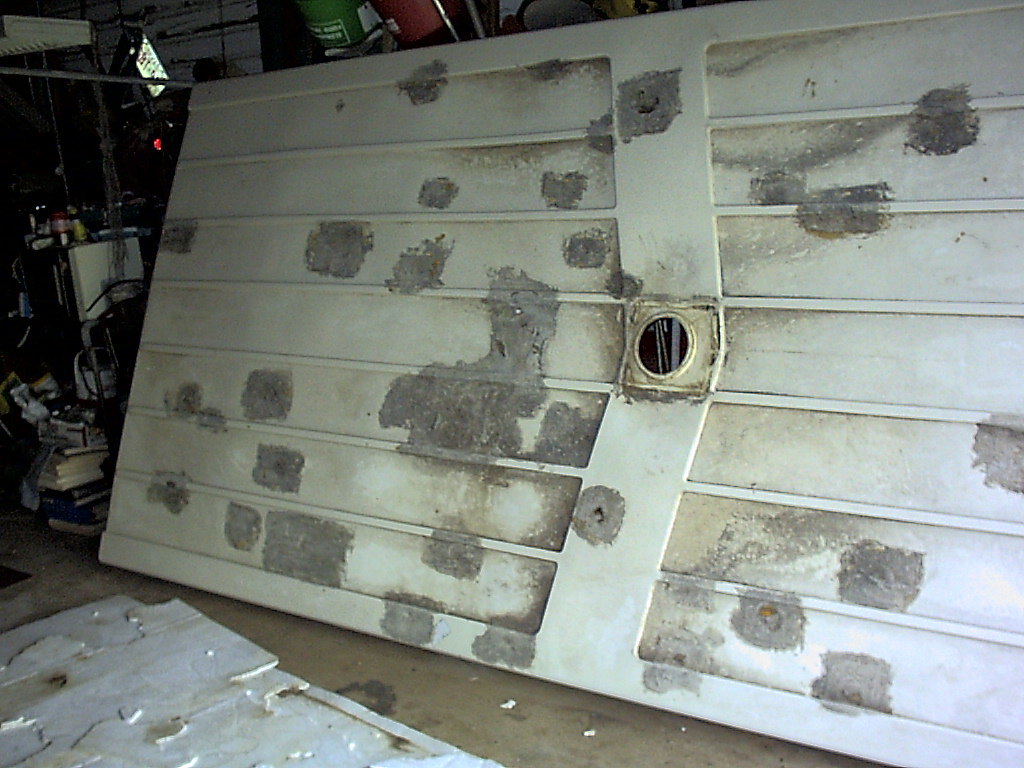
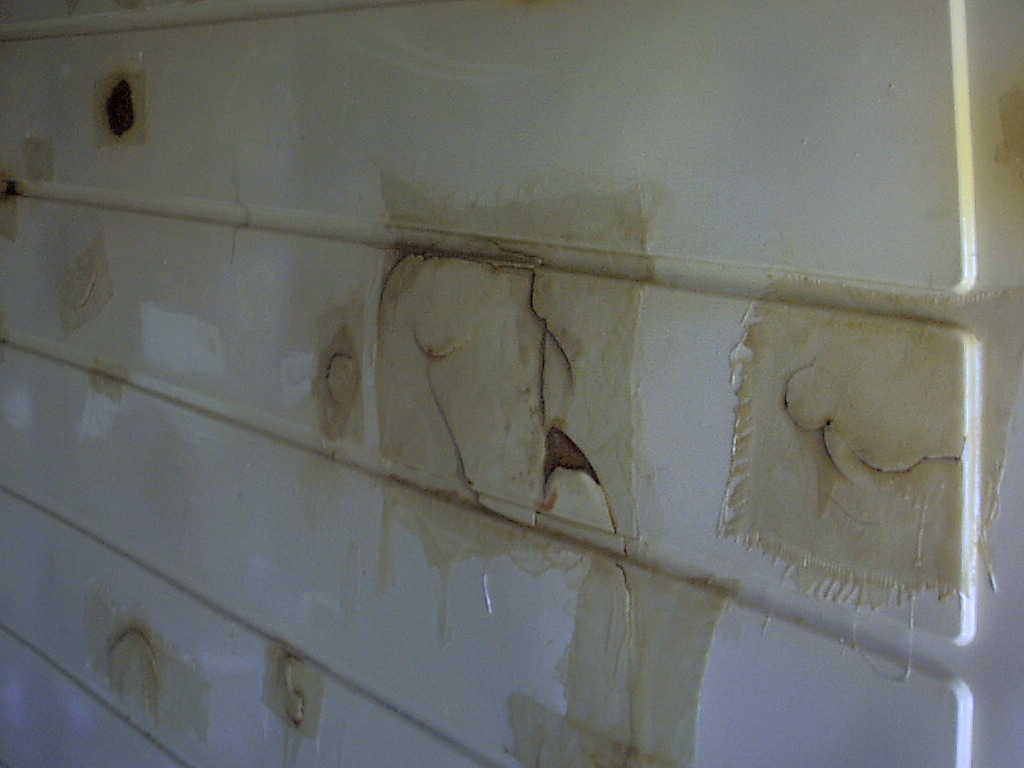
12-03-2000 - Top
Side of Road Cover Here you can see the myriad patches on the road cover. The gray is from some 'plastic roof paint' I tried to paint over the leaking epoxy patches. |
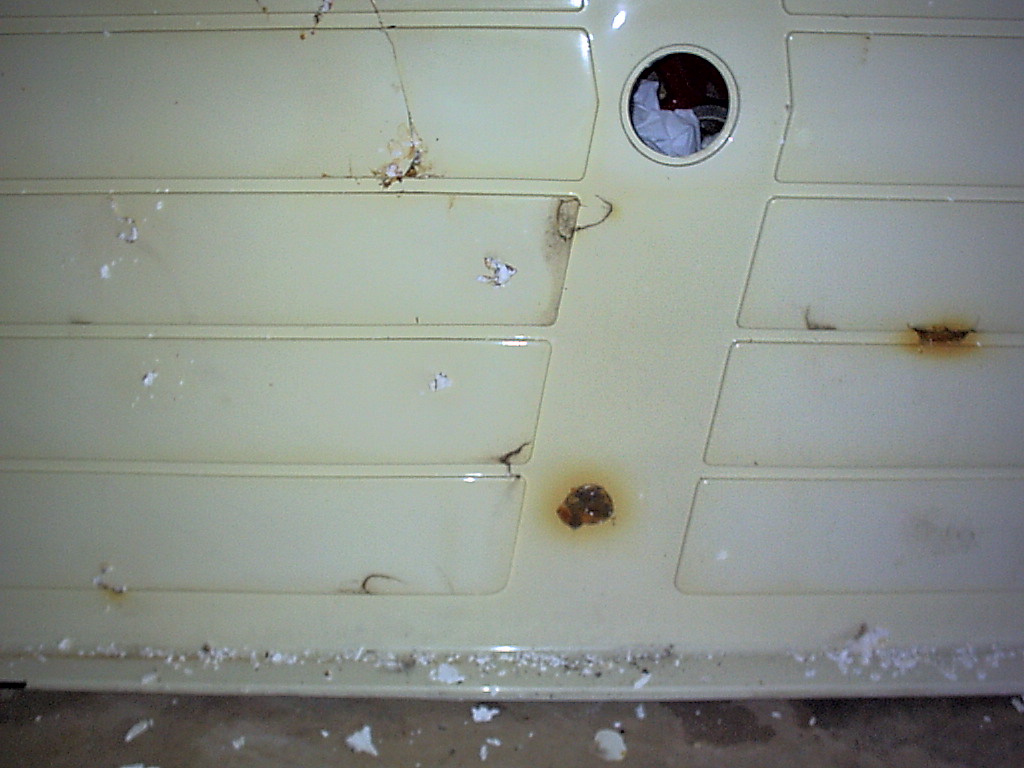
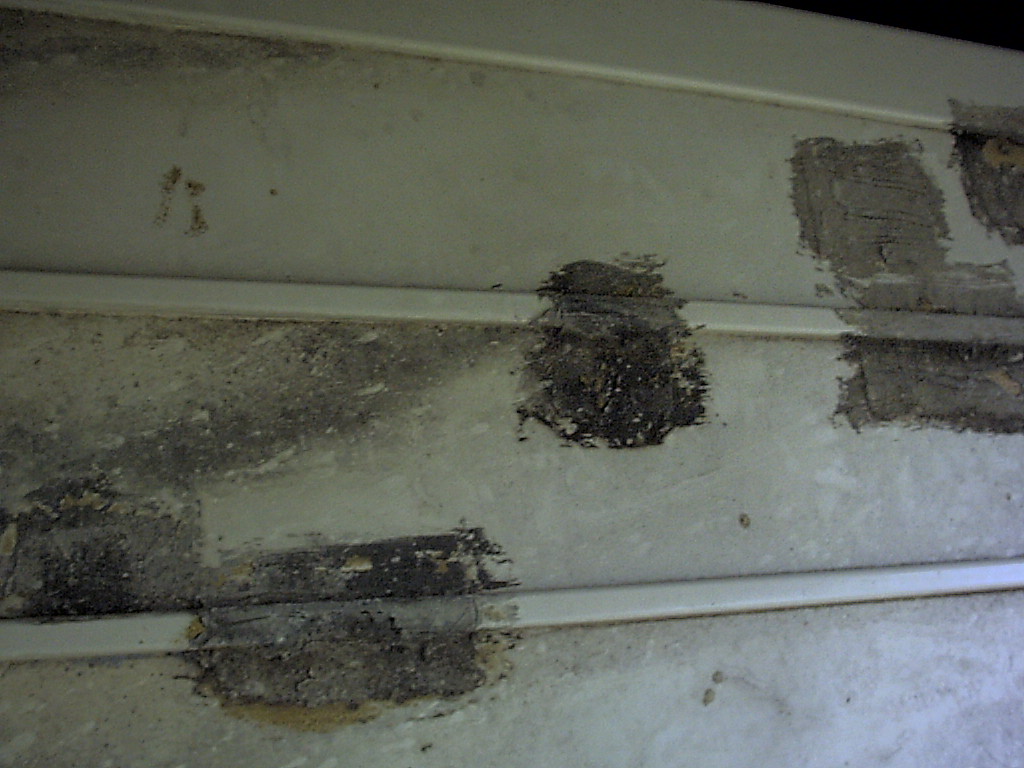
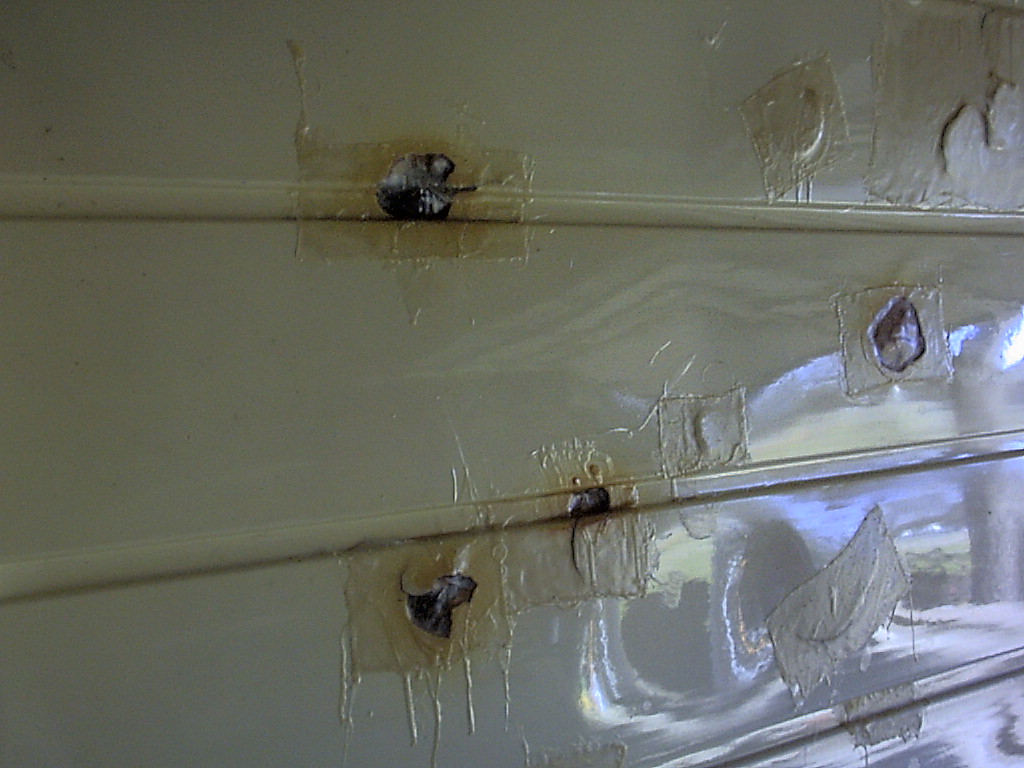
12-03-2000 - Top
Side of Road Cover Close-up of some of the old patches |
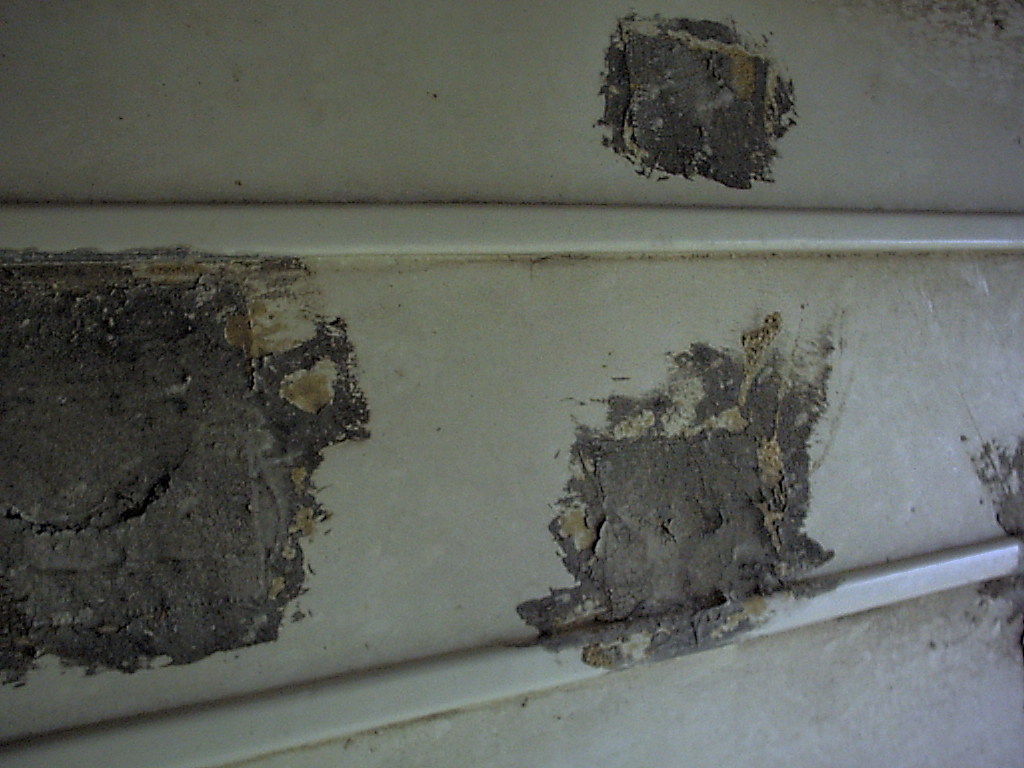
12-03-2000 - Top
Side of Road Cover Close-up of some of the old patches |
 |
 |
 |
 |
| 12-17-2000 - Bottom
of Road Cover Using a wire-wheel on my drill and a sander, I removed the old gunk from the top and bottom. Then, applied fiberglass & epoxy on the underside of the holes. |
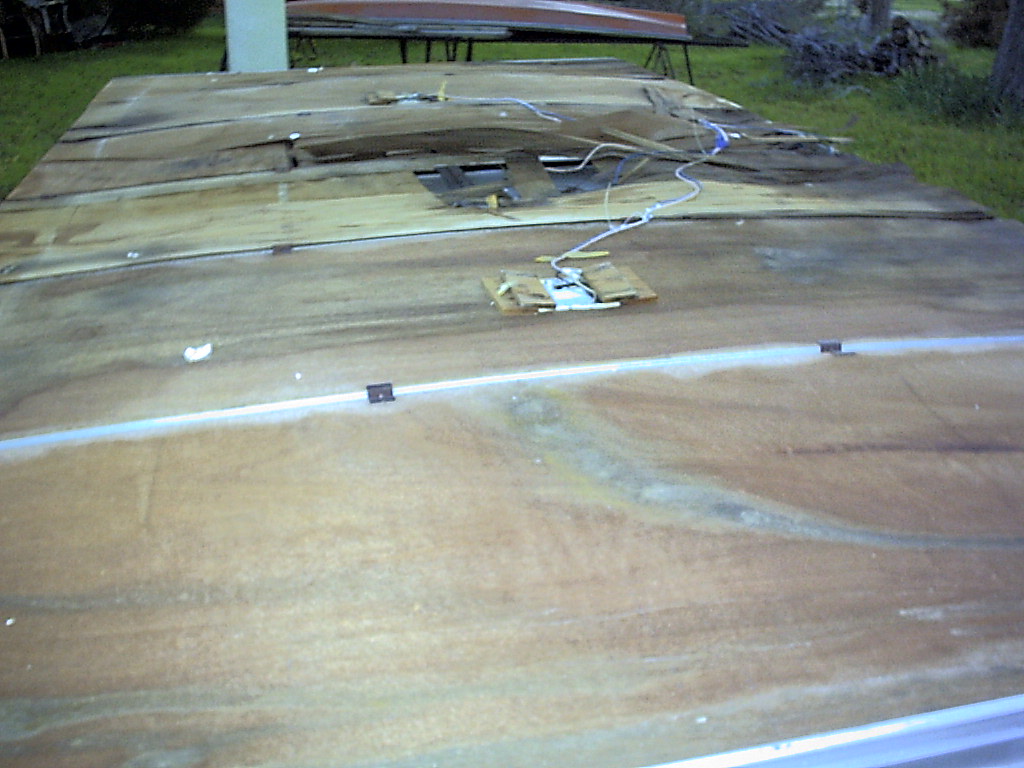
12-17-2000 - Bottom
of Road Cover Another shot of the completed underside. |
12-17-2000 - Bottom
of Road Cover A few drips in the epoxy, but overall a watertight seal! I used two coats of epoxy. |
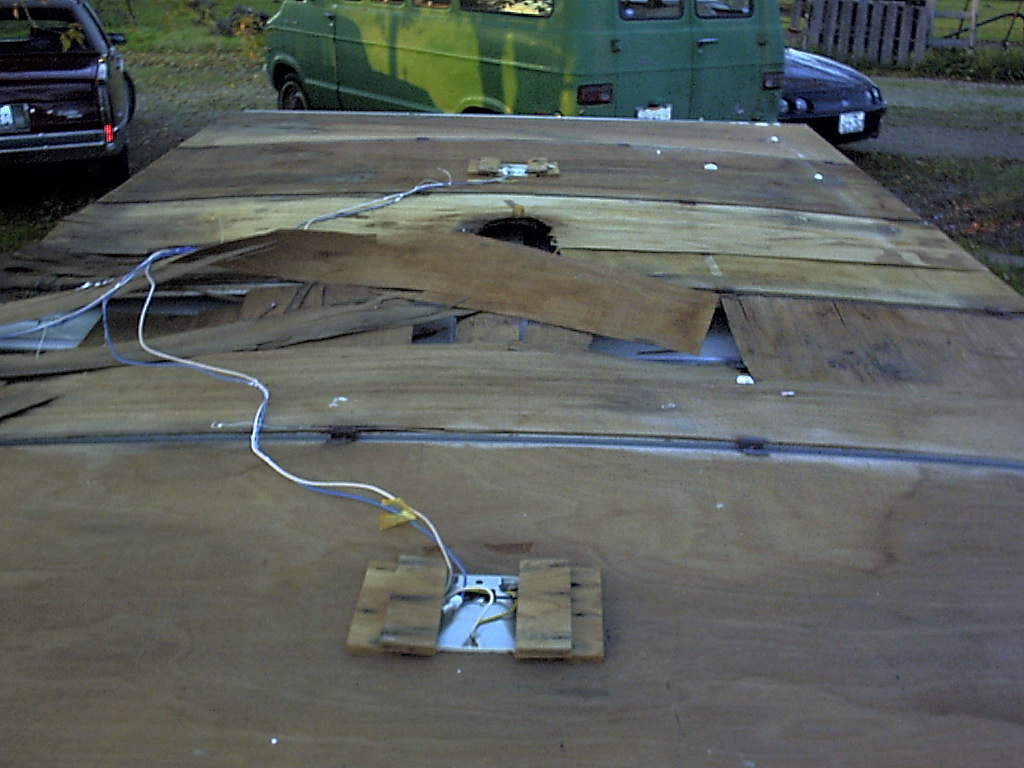
12-17-2000 - Bottom
of Road Cover We're talking some large holes! |
 |
 |
 |
 |
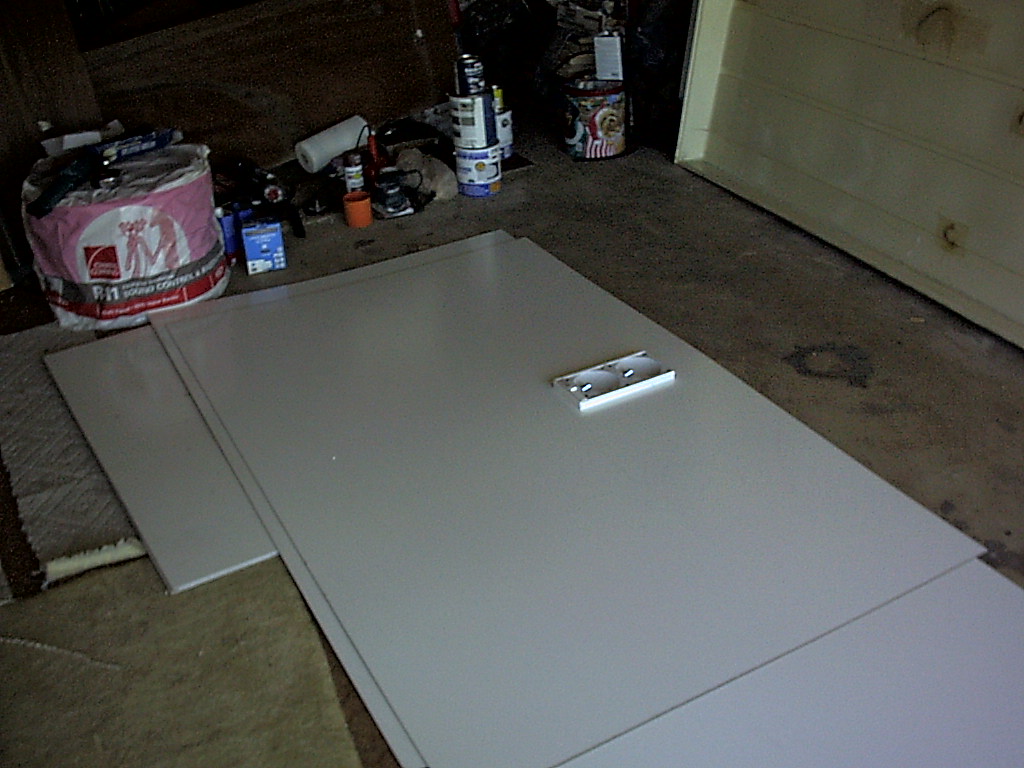
| 12-17-2000 - New
Ceiling Material Here is the new ceiling material. It is standard white tileboard purchased at Home Depot. The new light fixture I got at a local RV shop for around $15. |
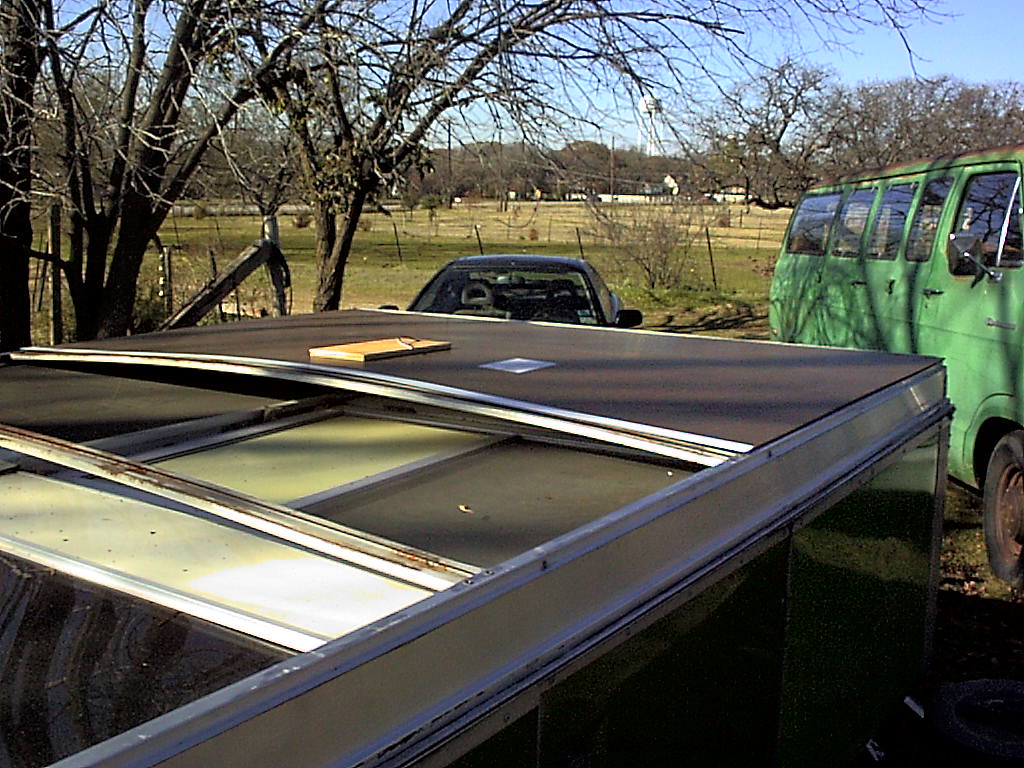
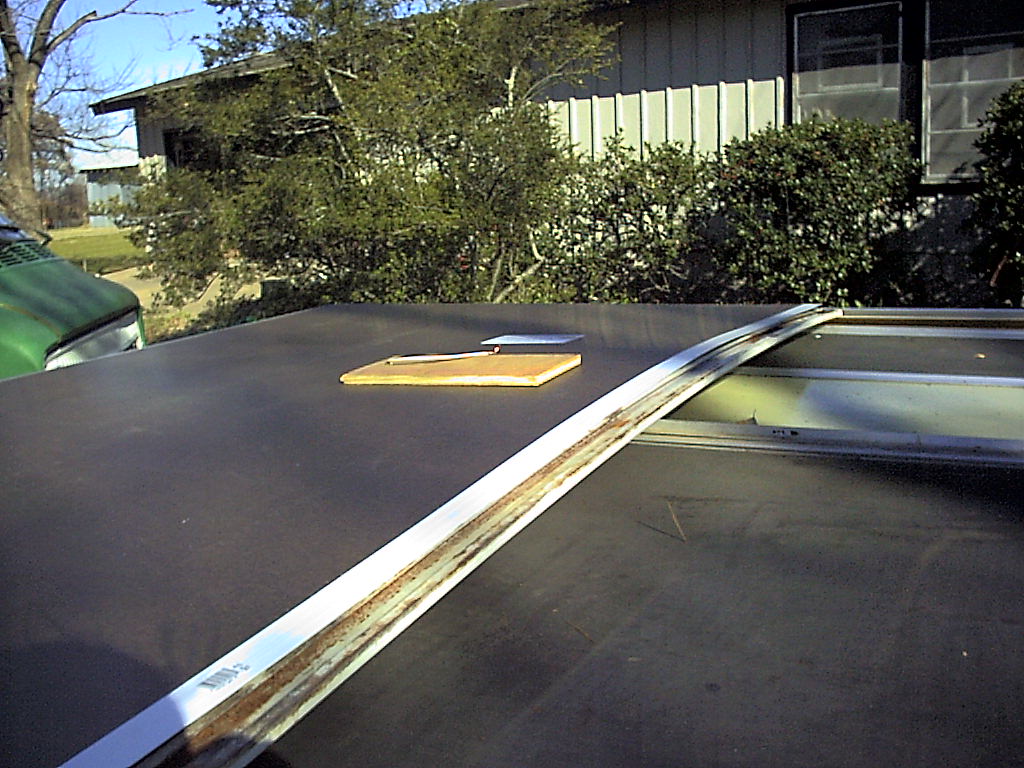
12-17-2000 - Exposed
Top Ever wonder what the top looks like with no road cover or ceiling? You can also see that my Apache logo on the side needs some work. |
12-17-2000 - Ceiling
Being Installed Here is the new tileboard in place on top of the trailer. |
12-17-2000 - Ceiling
Being Installed Another shot. You can see I backed the light fixture with some plywood. |
Jump to: | Page 1 | Page 2 | Page 3 | Page 4 | Page 5 | Page 6 |